im>Callawey No edit summary |
(Updated infobox, datacrons, and nav.) |
||
| (42 intermediate revisions by 16 users not shown) | |||
| Line 1: | Line 1: | ||
| + | {{Planet infobox |
||
| − | {{Header Info}} |
||
| + | | image = Nar Shaddaa.png |
||
| − | <p style="text-align:center;"><span style="font-size: 1.5em;">Welcome to the [[Star Wars: The Old Republic]] '''Planets''' Portal!</span></p> |
||
| ⚫ | |||
| + | | levels = 20-24 |
||
| ⚫ | |||
| ⚫ | |||
| ⚫ | |||
| ⚫ | |||
| ⚫ | |||
| + | '''Nar Shaddaa''', also known as the '''Smuggler's Moon''', is the largest of five moons in orbit around the planet [[Nal Hutta]]. This [[ecumenopolis]] is one of the wealthiest locations in the galaxy, the lights and towers of its upper levels embodying pleasure and excess. Nar Shaddaa also serves as a symbol of corruption; run by the [[Hutt Cartel]], the Smuggler's Moon supports a robust black market and is known for secretive dealings and illegal acts.<ref name="NarShaddaaHolo">[http://www.swtor.com/info/holonet SW:TOR Holonet]. (2009). [http://www.swtor.com/info/holonet/planets/nar-shaddaa Nar Shaddaa]. Retrieved November 28, 2011, from [http://www.swtor.com/ Star Wars: The Old Republic].</ref> |
||
| + | ==Background== |
||
| − | {|style="width:100%;background: none;border-spacing:10px;" |
||
| + | Nar Shaddaa is controlled by the [[Hutt Cartel]], and has long been known for its lawlessness and corruption. Despite this, the moon's wealth and opulence has continued to draw individuals from across the known galaxy; those seeking the pleasures and experiences of the Smuggler's Moon willingly subject themselves to the whims and orchestrations of the various crime bosses vying for power within the moon's cityscape.<ref name="NarShaddaaHolo" /> |
||
| − | |style="width:90%;border:1px solid #2A3C52; -moz-border-radius: 0.8em; background-color: #1A2634;vertical-align:top;"| |
||
| + | |||
| − | {|width="100%" cellpadding="2" cellspacing="5" style="vertical-align:top;background-color:#1A2634; -moz-border-radius: 0.8em;" |
||
| + | During the [[Great War]] Nar Shaddaa remained neutral, maximizing the moon's profits by dealing with both sides of the conflict. The [[Galactic Republic]] and [[Sith Empire]] grudgingly respected the Cartell's control of the city, but also recognized the potential gains that could be made in the moon's corrupt underbelly. Those found within these polluted and neglected lower levels respect no authority other than those with power, and it is here that numerous underworld conflicts, including that between the Hutt Cartel and the [[Exchange syndicate]], play out.<ref name="NarShaddaaHolo" /> |
||
| − | ! |
||
| − | {| width=100% style="margin:0;background-color:#121C29;border:1px solid #2A3C52; padding:0.2em 0.4em;" |
||
| − | | <h2 style="margin:0px; padding:0px;border:none;font-size:120%;text-align:left;">'''SMUGGLER'S MOON'''</h2> |
||
| ⚫ | |||
| ⚫ | |||
| ⚫ | |||
| + | ==Notes== |
||
| − | One of the most vibrant and dangerous places in the galaxy, Nar Shaddaa is a sprawling cityscape where nothing comes without a price. Dominated by a black market that caters to every indulgence, the moon has become the ultimate symbol of corruption. The upper levels present an endless parade of glittering neon towers and floating pleasure palaces; no greater concentration of wealth exists across the galaxy. Behind these flashy facades, crime bosses and secret political emissaries make backroom deals that decide the fates of worlds, and as much as both the Galactic Republic and the Sith Empire might like to change it, the Hutt Cartel calls the shots. |
||
| + | [[Galactic Trade Network]] kiosks on the lower promenade are cross-faction. |
||
| + | ==Codex entries== |
||
| − | For all the opulence above, however, an equal level of brutality lies below. The bowels of Nar Shaddaa hide some of the galaxy’s darkest secrets. In the pursuit of advanced technologies, unscrupulous enterprises conduct hazardous experiments on unwilling test subjects and crime lords employ slaves as fodder on industrial assembly lines. Fugitives hide from the law after committing heinous crimes, and prisoners who’ve vanished from all over the galaxy are held in anonymous and inescapable private prisons. Criminal enterprises beyond Hutt control compete for power, as well – foremost among them the Exchange syndicate, the Hutt Cartel's only genuine rival. While the upper levels of Nar Shaddaa may be one of the most desirable places to visit in the galaxy, the moon’s lower levels are a place which anyone in their right mind would avoid at all costs. |
||
| + | : ''Main article: [[Nar Shaddaa/Codex entries]]'' |
||
| + | Nar Shaddaa has 23 [[codex]] entries: 2 bestiary, 5 [[datacron]]s (see below), 1 epic enemy, 7 locations, 3 lore, 2 organizations, 2 persons of note and 1 [[species]]. |
||
| − | In the distant past, before becoming the Hutts’ showcase, Nar Shaddaa was used as a refugee camp for Evocii driven from Hutta itself. Then again, after the Jedi Civil War 300 years ago, Nar Shaddaa was swarmed with refugees who were used by the criminal Exchange to lure and capture any remaining Jedi. More recently, when the Great War began, it brought ruin to many star systems, but to Nar Shaddaa, it brought only more profit. While other systems were offering allegiance to the Empire or to the Republic, the Hutts controlling Nar Shaddaa realized they could keep their autonomy – and their increased profits – by dealing with both sides. This delicate balancing act has increased the risk of doing business, but it hasn’t deterred competition. The Exchange and the Hutt Cartel have engaged in a winner-takes-all crime war that spans the galaxy but centers on the tiny moon of Nar Shaddaa. |
||
| + | |||
| + | ==Datacrons== |
||
| + | {| class="wikitable" |
||
| + | ! Coordinates !! Reward !! Region !! Description !! Codex |
||
| ⚫ | |||
| + | | -3364,-3312 || +3 [[Aim]] (Republic) || [[Nikto Sector]] || Head over to (-3303,-3402) where you will find small boxes next to some crates. Start climbing the crates up to a canopy. Follow very carefully up one of the small attachment wires that intersects the canopy to a pipe. Cross the larger pipe as it leads to you to a wall with two more pipes to follow. Jump onto the top of the sign to make your way up to the ledge walkway, and keep following it as it turns left. Once you get to (-3397,-3336), turn around, line yourself up with the support wire of the nearest post below, and walk backwards onto it. Walk along it to the post, hop up onto it and follow the next support wire directly to the datacron, which is atop the next post. || [[Codex/Galactic History 33: Dromund Kaas]] |
||
| ⚫ | |||
| + | | 3338, -3285, -3089 || +3 [[Presence]] (Republic) || [[Red Light Sector]] – Catwalks || It is recommended that you are well above level for the area, or that you bring a friend. In the Gauntlet Gang Area, head to (3690,1342) where you will find a small orange box next to a yellow-ish ledge. Jump up to the ledge and follow the canopy to a second level. Take the elevator up to a new level and the datacron. || [[Codex/Galactic History 35: The Gank Massacres]] |
||
| ⚫ | |||
| + | | 2157, 3103 || +3 [[Strength]] (Republic) || [[Shadow Town]] – Access Tunnels || In Shadow Town, head to (2302,3060) where you will need to climb some crates to a walkway. Follow the walkway til you reach a overpass; cross it. Get on top of some boxes on the left and jump to the support beam. Follow the beam north til you reach the pipe on the wall. Jump onto the pipe and up onto the elbow where it's attached to the wall. Here is the first of the two most difficult jumps. Turn off Sprint and carefully jump onto where the circular light housing is attached to the wall. Remember to turn Sprint back on! To the southwest is the back of a very large light panel angled downward to make a platform. This is the second of the difficult jumps. Jump up across to it and then look north. Jump to the near pipe and follow it to the opposite wall. Drop down to the pipes along the wall on your left. Jump your way between the gap to the next pipe and small platforms til you reach a ledge. You will find an elevator there that will take you to a secret area. The datacron awaits at the end of that area. || [[Codex/Galactic History 37: Freedon Nadd]] |
||
| ⚫ | |||
| + | | -3700, -1692 || +3 [[Aim]] (Imperial) || [[Corellian Sector]] || This datacron is on a raised platform in the Corellian Sector. You will notice a floating Kiosk in this area, it makes a circle around this room (takes approx 10 mins to complete a circle). You will need to jump onto the roof above the bench at -3785, -1681 (use the nearby crates and shelves to get there) and get your ride on the floating Kiosk at that location. || [[Codex/Galactic History 33: Dromund Kaas]] |
||
| ⚫ | |||
| + | | 2930, 397 || +3 [[Presence]] (Imperial) || [[Duros Sector]] || This datacron is on a raised platform in the Rebel Refugee Section in the Duros Sector: Slums. You are going to need some serious platforming skills to access this one. You start your platforming at 1616, -2676 (No that's not a misprint). You want to jump on the boxes, hop on the beam, run to the catwalk, jump on a "canvas" to the next catwalk. You will see an elevator, take it to the Residential Catwalk. At this point you are above the datacron, look around, plan your moves and claim your prize. It should be noted that if you fail to hit the beams after you take the elevator, you will either die to the fall or the groups of four elite mobs; enjoy! || [[Codex/Galactic History 35: The Gank Massacres]] |
||
| ⚫ | |||
| + | | 1943, 2481 || +3 [[Strength]] (Imperial) || [[Network Access]] Taxi || Near the Network Access Taxi you will be able to look down and see what looks like a taxi below. You need to carefully fall to the platform that taxi is sitting on. That taxi will bring you to a Datacron. You can then use the communicator to return. || [[Codex/Galactic History 37: Freedon Nadd]] |
||
| ⚫ | |||
| + | | 1930, 3313 || +3 [[Cunning]] || [[Incinerator Room]] || In the High Security lockdown area, head to (2033,3355) and jump up the boxes to a ramp that leads to a walkway. Follow the walkway to a terminal that grants access to the incinerator room. Once inside, quickly make your way to the terminal and select the 2nd option from the top that should read “326:3827″. A door will open to the datacron and a new terminal that gives you an item you’ll need for the Yellow Matrix Shard datacron coming up. || [[Codex/Galactic History 34: The Discovery of Ryll]] |
||
| ⚫ | |||
| + | | 1702, 3084 || [[Yellow Matrix Shard]] || [[Network Security District]] – Maintenance Terrace || Since there are enemies very near your starting point, it would be adviseable to wait until you can the defeat the level 30-32 enemies there (which is harder than it sounds). In the Network Security District, head to (1700,3089) and climb the boxes. Once upon the highest box, jump to the pipe along the wall. Jump up the pipes and platforms til you get to some boxes under a ledge. Leap up to the ledge from the boxes. The datacron will be on this terrace. Use the item from the Cunning +3 datacron to gain access to it. || [[Codex/Galactic History 36: The Quarren-Mon Calamari War]] |
||
| ⚫ | |||
| + | |||
| + | ==Gallery== |
||
<center> |
<center> |
||
<gallery> |
<gallery> |
||
| Line 23: | Line 51: | ||
Image:SS_20100730_NarShaddaa02_full.jpg| |
Image:SS_20100730_NarShaddaa02_full.jpg| |
||
Image:SS_20100730_NarShaddaa03_full.jpg| |
Image:SS_20100730_NarShaddaa03_full.jpg| |
||
| − | </gallery> |
||
| − | </center> |
||
| − | |||
| − | <center> |
||
| − | <gallery> |
||
Image:CA_20100730_NarShaddaa01_full.jpg| |
Image:CA_20100730_NarShaddaa01_full.jpg| |
||
Image:CA_20100730_NarShaddaa02_full.jpg| |
Image:CA_20100730_NarShaddaa02_full.jpg| |
||
| Line 35: | Line 58: | ||
</center> |
</center> |
||
| + | ==References== |
||
| ⚫ | |||
| + | {{RefList}} |
||
| + | ==External links== |
||
| − | <!-- Right Hand Column --> |
||
| + | * {{WookLink|Nar_Shaddaa|Nar Shaddaa}} |
||
| − | |style="width:250px;border:1px solid #2A3C52; -moz-border-radius: 0.8em; background-color:#1A2634;vertical-align:top"| |
||
| + | * [http://www.swtor.com/info/holonet/planets/nar-shaddaa Nar Shaddaa on the Star Wars: The Old Republic Holonet] |
||
| − | {| width="100%" cellpadding="2" cellspacing="5" style="vertical-align:top;background-color:#1A2634; -moz-border-radius: 0.8em;" |
||
| ⚫ | |||
| − | ! |
||
| − | {| width=100% style="margin:0;background-color:#121C29;border:1px solid #2A3C52; padding:0.2em 0.4em;" |
||
| − | | <h2 style="margin:0px; padding:0px;border:none;font-size:120%;text-align:center;">'''Nar Shaddaa'''</h2> |
||
| − | |} |
||
| ⚫ | |||
| − | | style="text-align:center;" | [[Image:Nar_Shaddaa.jpg|250px|border]] |
||
| ⚫ | |||
| − | ! |
||
| ⚫ | |||
| − | | |
||
| − | '''Atrological Region''' |
||
| ⚫ | |||
| + | {{Nar Shaddaa nav}} |
||
| − | '''Allegiance''' |
||
| + | {{Galaxy nav}} |
||
| ⚫ | |||
| − | |||
| − | '''Status''' |
||
| ⚫ | |||
| − | |||
| − | '''Terrain''' |
||
| ⚫ | |||
| − | |||
| − | '''Key Facts''' |
||
| − | *Nar Shaddaa is the largest moon orbitting [[Nal Hutta]] |
||
| ⚫ | |||
| ⚫ | |||
| − | | {{Star-Wars-The-Old-Republic-Wiki:AdSense1}} |
||
| ⚫ | |||
| − | |- --> |
||
| − | |} |
||
| − | |} |
||
| − | __NOEDITSECTION__ |
||
| + | [[Category:Nar Shaddaa| ]] |
||
| − | [[Category:Confirmed_Planets]][[Category:Universe]][[Category:Planets]][[Category:Star-Wars-The-Old-Republic-Wiki:Portals]] |
||
| + | [[Category:Hutt Space]] |
||
| − | __NOTOC__ |
||
| + | [[Category:Independent]] |
||
| + | [[Category:Planets]] |
||
Latest revision as of 22:43, 22 May 2021
| ||||
|---|---|---|---|---|

| ||||
|
Hutt Space | ||||
| Allegiance: | Neutral; Controlled by the Hutts | |||
| Status: | Nar Shaddaa has profited greatly from the war, rampant crime, and chaos. | |||
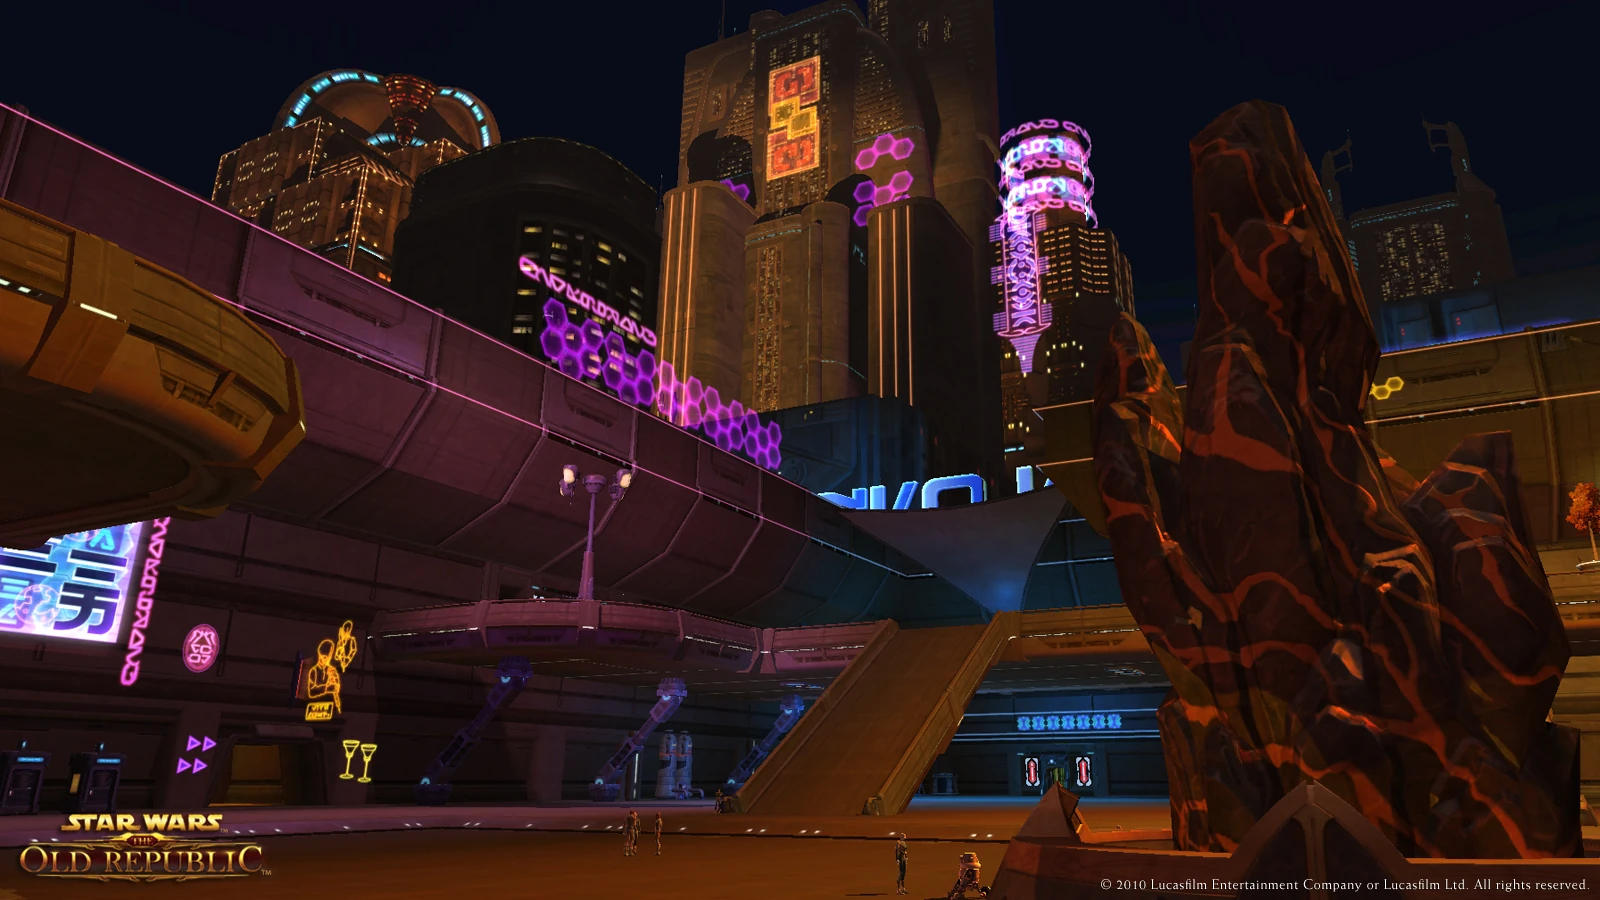
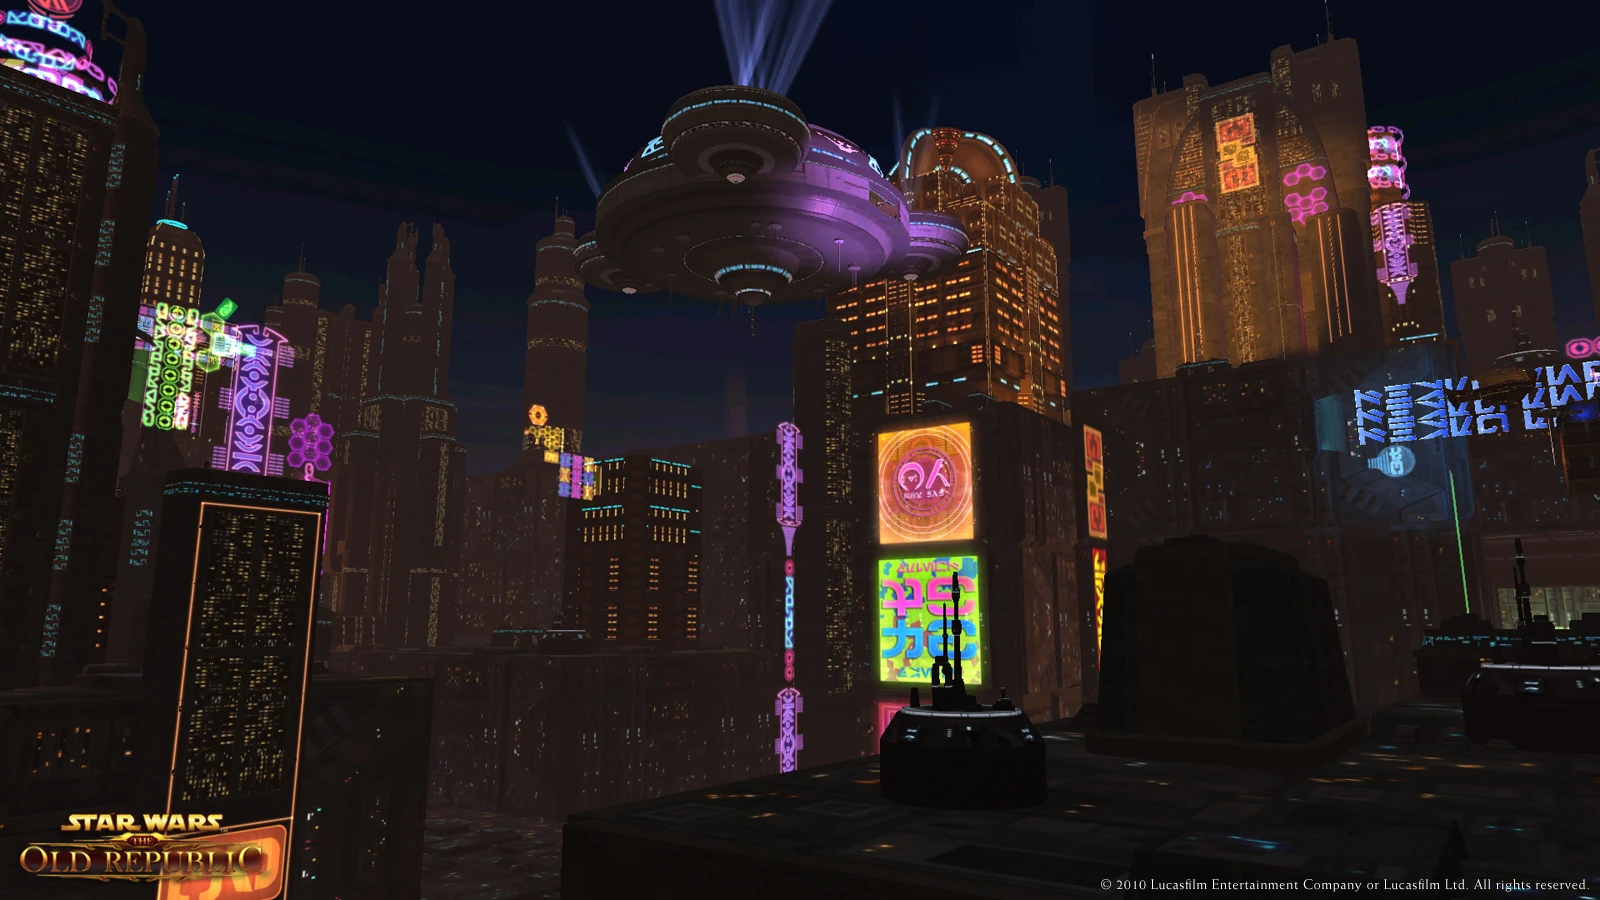
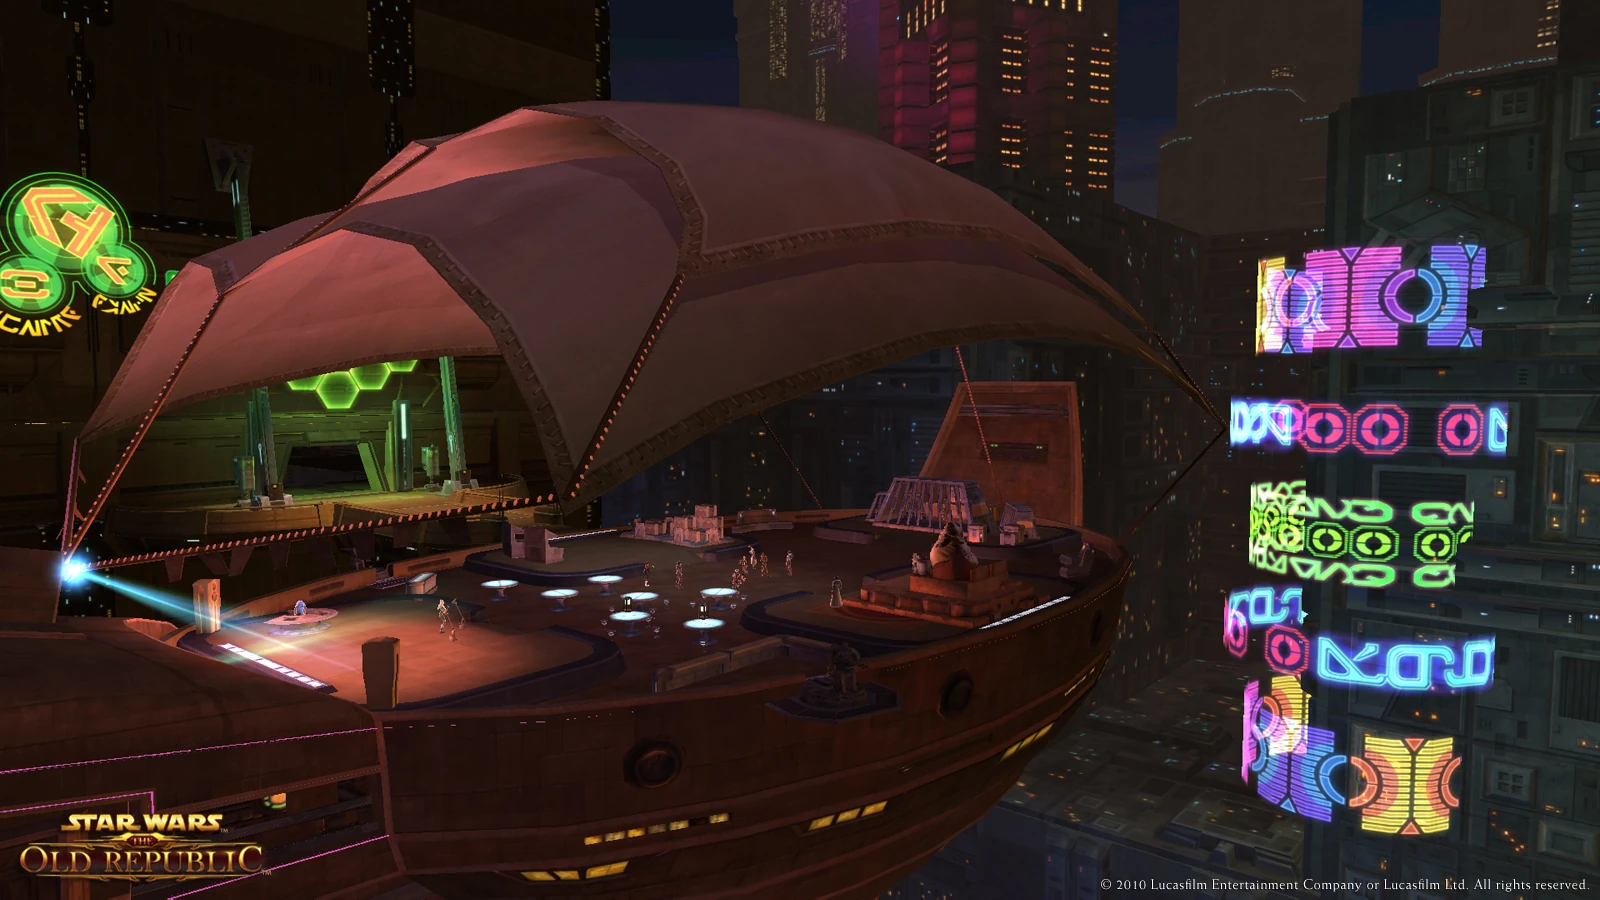
| Terrain: | Vast cityscape, ranging from neon towers to squalid dens | |||
| Key facts: | Nar Shaddaa is the largest moon orbitting Nal Hutta. Due to the lack of regulation, many corporations conduct testing on Nar Shaddaa. | |||
Nar Shaddaa, also known as the Smuggler's Moon, is the largest of five moons in orbit around the planet Nal Hutta. This ecumenopolis is one of the wealthiest locations in the galaxy, the lights and towers of its upper levels embodying pleasure and excess. Nar Shaddaa also serves as a symbol of corruption; run by the Hutt Cartel, the Smuggler's Moon supports a robust black market and is known for secretive dealings and illegal acts.[1]
Background
Nar Shaddaa is controlled by the Hutt Cartel, and has long been known for its lawlessness and corruption. Despite this, the moon's wealth and opulence has continued to draw individuals from across the known galaxy; those seeking the pleasures and experiences of the Smuggler's Moon willingly subject themselves to the whims and orchestrations of the various crime bosses vying for power within the moon's cityscape.[1]
During the Great War Nar Shaddaa remained neutral, maximizing the moon's profits by dealing with both sides of the conflict. The Galactic Republic and Sith Empire grudgingly respected the Cartell's control of the city, but also recognized the potential gains that could be made in the moon's corrupt underbelly. Those found within these polluted and neglected lower levels respect no authority other than those with power, and it is here that numerous underworld conflicts, including that between the Hutt Cartel and the Exchange syndicate, play out.[1]
Notes
Galactic Trade Network kiosks on the lower promenade are cross-faction.
Codex entries
- Main article: Nar Shaddaa/Codex entries
Nar Shaddaa has 23 codex entries: 2 bestiary, 5 datacrons (see below), 1 epic enemy, 7 locations, 3 lore, 2 organizations, 2 persons of note and 1 species.
Datacrons
| Coordinates | Reward | Region | Description | Codex |
|---|---|---|---|---|
| -3364,-3312 | +3 Aim (Republic) | Nikto Sector | Head over to (-3303,-3402) where you will find small boxes next to some crates. Start climbing the crates up to a canopy. Follow very carefully up one of the small attachment wires that intersects the canopy to a pipe. Cross the larger pipe as it leads to you to a wall with two more pipes to follow. Jump onto the top of the sign to make your way up to the ledge walkway, and keep following it as it turns left. Once you get to (-3397,-3336), turn around, line yourself up with the support wire of the nearest post below, and walk backwards onto it. Walk along it to the post, hop up onto it and follow the next support wire directly to the datacron, which is atop the next post. | Codex/Galactic History 33: Dromund Kaas |
| 3338, -3285, -3089 | +3 Presence (Republic) | Red Light Sector – Catwalks | It is recommended that you are well above level for the area, or that you bring a friend. In the Gauntlet Gang Area, head to (3690,1342) where you will find a small orange box next to a yellow-ish ledge. Jump up to the ledge and follow the canopy to a second level. Take the elevator up to a new level and the datacron. | Codex/Galactic History 35: The Gank Massacres |
| 2157, 3103 | +3 Strength (Republic) | Shadow Town – Access Tunnels | In Shadow Town, head to (2302,3060) where you will need to climb some crates to a walkway. Follow the walkway til you reach a overpass; cross it. Get on top of some boxes on the left and jump to the support beam. Follow the beam north til you reach the pipe on the wall. Jump onto the pipe and up onto the elbow where it's attached to the wall. Here is the first of the two most difficult jumps. Turn off Sprint and carefully jump onto where the circular light housing is attached to the wall. Remember to turn Sprint back on! To the southwest is the back of a very large light panel angled downward to make a platform. This is the second of the difficult jumps. Jump up across to it and then look north. Jump to the near pipe and follow it to the opposite wall. Drop down to the pipes along the wall on your left. Jump your way between the gap to the next pipe and small platforms til you reach a ledge. You will find an elevator there that will take you to a secret area. The datacron awaits at the end of that area. | Codex/Galactic History 37: Freedon Nadd |
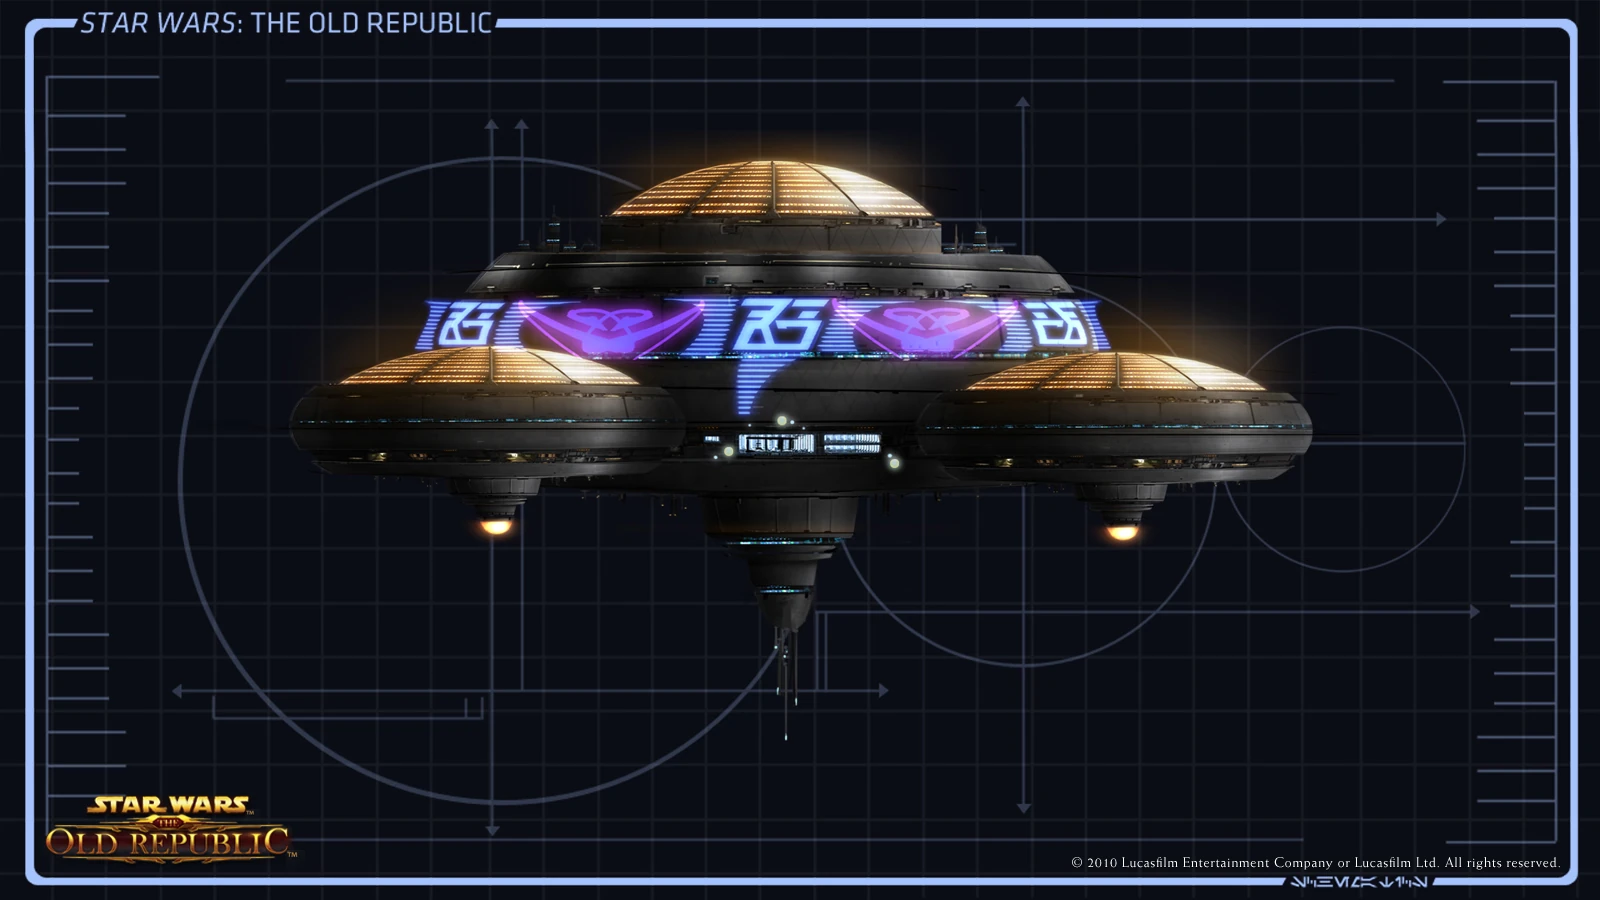
| -3700, -1692 | +3 Aim (Imperial) | Corellian Sector | This datacron is on a raised platform in the Corellian Sector. You will notice a floating Kiosk in this area, it makes a circle around this room (takes approx 10 mins to complete a circle). You will need to jump onto the roof above the bench at -3785, -1681 (use the nearby crates and shelves to get there) and get your ride on the floating Kiosk at that location. | Codex/Galactic History 33: Dromund Kaas |
| 2930, 397 | +3 Presence (Imperial) | Duros Sector | This datacron is on a raised platform in the Rebel Refugee Section in the Duros Sector: Slums. You are going to need some serious platforming skills to access this one. You start your platforming at 1616, -2676 (No that's not a misprint). You want to jump on the boxes, hop on the beam, run to the catwalk, jump on a "canvas" to the next catwalk. You will see an elevator, take it to the Residential Catwalk. At this point you are above the datacron, look around, plan your moves and claim your prize. It should be noted that if you fail to hit the beams after you take the elevator, you will either die to the fall or the groups of four elite mobs; enjoy! | Codex/Galactic History 35: The Gank Massacres |
| 1943, 2481 | +3 Strength (Imperial) | Network Access Taxi | Near the Network Access Taxi you will be able to look down and see what looks like a taxi below. You need to carefully fall to the platform that taxi is sitting on. That taxi will bring you to a Datacron. You can then use the communicator to return. | Codex/Galactic History 37: Freedon Nadd |
| 1930, 3313 | +3 Cunning | Incinerator Room | In the High Security lockdown area, head to (2033,3355) and jump up the boxes to a ramp that leads to a walkway. Follow the walkway to a terminal that grants access to the incinerator room. Once inside, quickly make your way to the terminal and select the 2nd option from the top that should read “326:3827″. A door will open to the datacron and a new terminal that gives you an item you’ll need for the Yellow Matrix Shard datacron coming up. | Codex/Galactic History 34: The Discovery of Ryll |
| 1702, 3084 | Yellow Matrix Shard | Network Security District – Maintenance Terrace | Since there are enemies very near your starting point, it would be adviseable to wait until you can the defeat the level 30-32 enemies there (which is harder than it sounds). In the Network Security District, head to (1700,3089) and climb the boxes. Once upon the highest box, jump to the pipe along the wall. Jump up the pipes and platforms til you get to some boxes under a ledge. Leap up to the ledge from the boxes. The datacron will be on this terrace. Use the item from the Cunning +3 datacron to gain access to it. | Codex/Galactic History 36: The Quarren-Mon Calamari War |
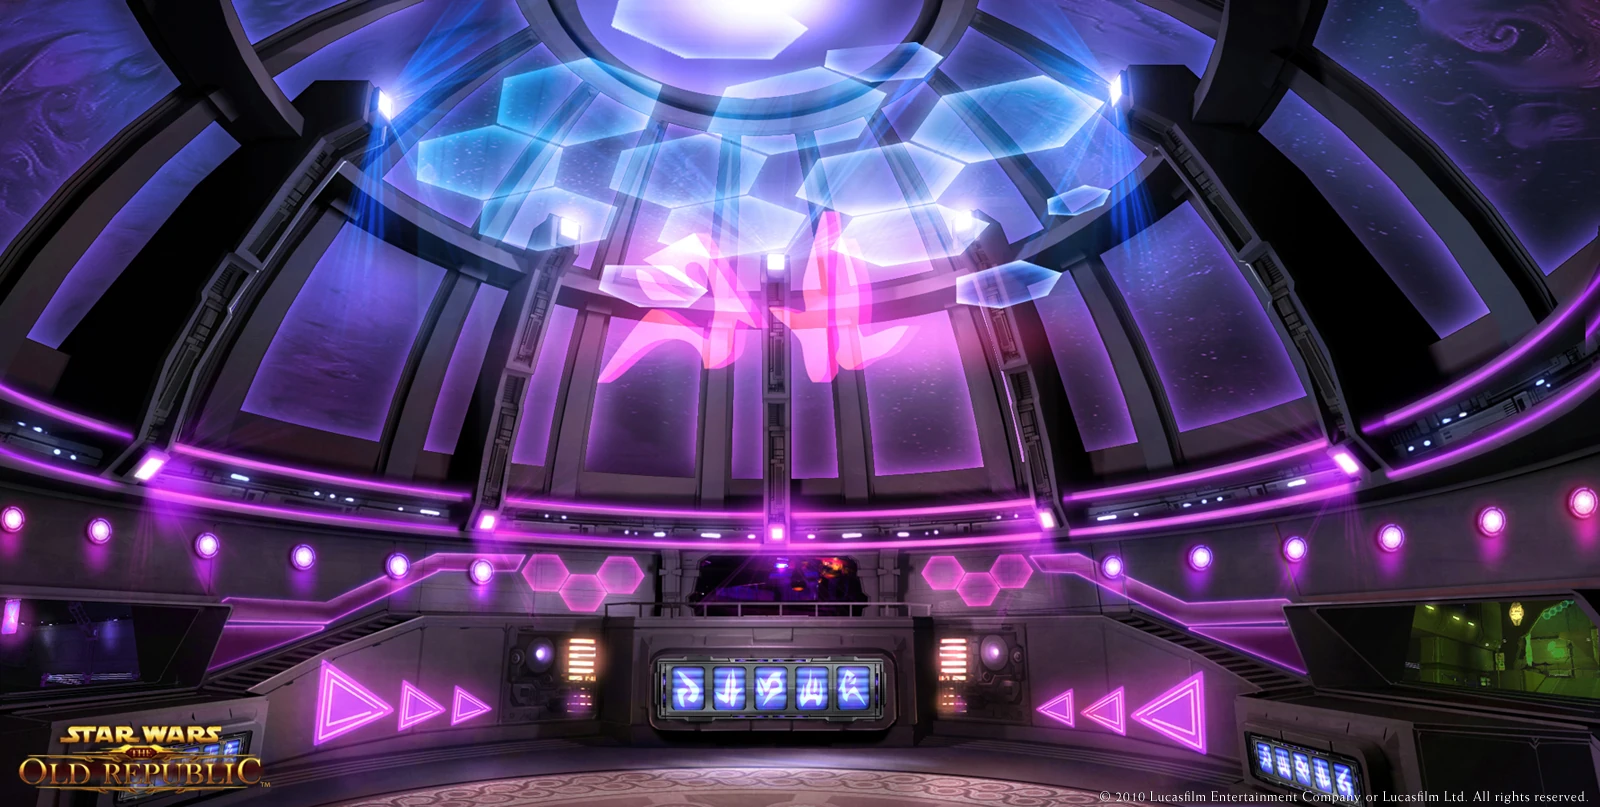
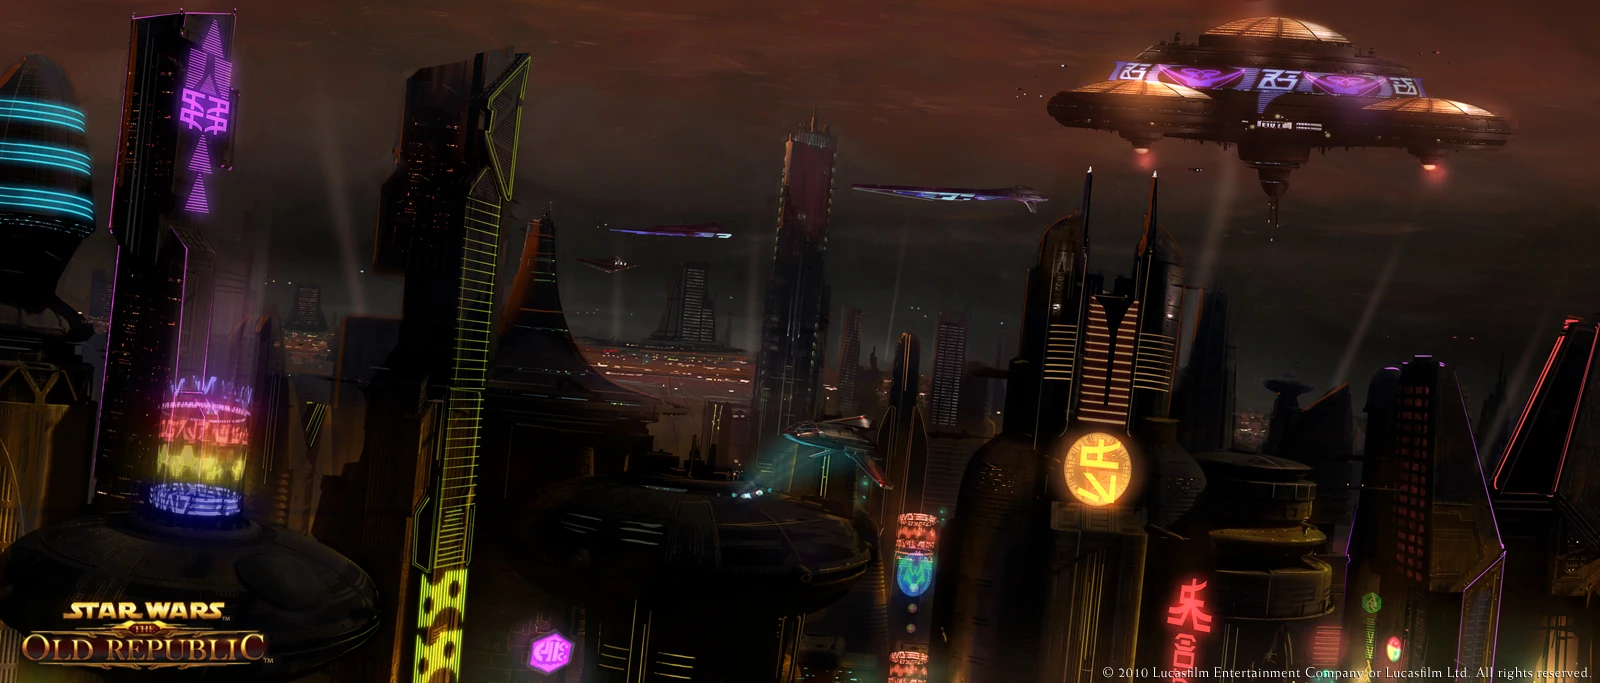
Gallery
References
- ↑ 1.0 1.1 1.2 SW:TOR Holonet. (2009). Nar Shaddaa. Retrieved November 28, 2011, from Star Wars: The Old Republic.
External links
| |||||||||||